How to Update FrSky Receivers Version in the ETHOS System?
The ETHOS system has been released for some time, and to help everyone easily understand how to update the receiver firmware, we are now releasing a tutorial. Welcome to learn.
Before upgrading to a new version, please make sure to back up the current version's content to avoid any data loss.
· Receiver Wired upgrade
· Receiver Wireless (OTA) upgrade
Using the X20 transmitter and TD R10 receiver as an example:
Receiver Wired update operation
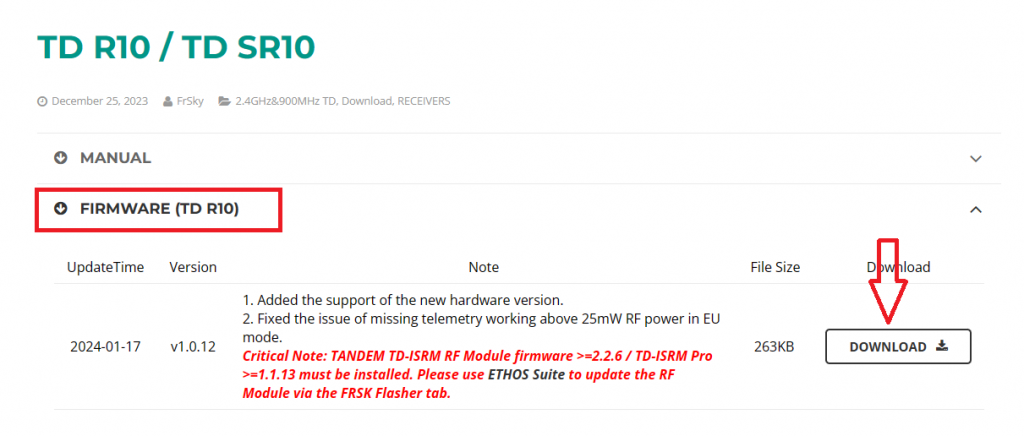
1. Visit the official website at www.frsky-rc.com, locate the firmware download page for the corresponding receiver (TD R10), find the required firmware under the "FIRMWARE" section, and download and extract the file.
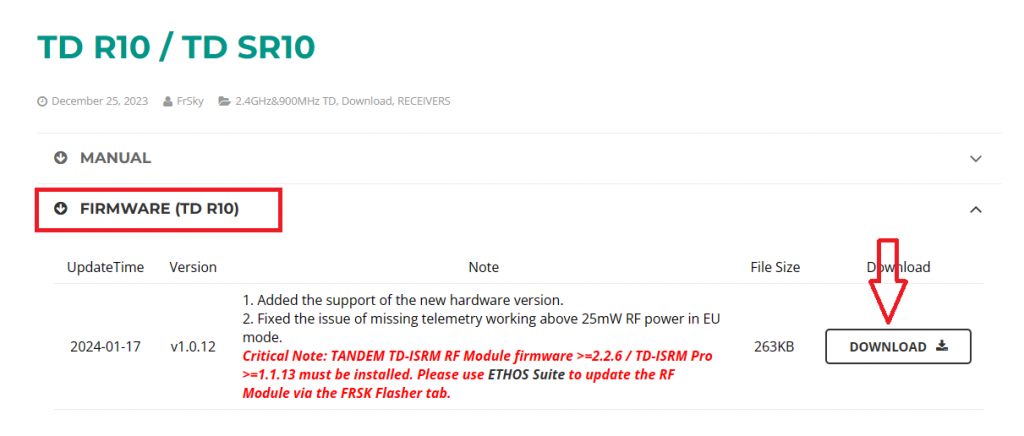
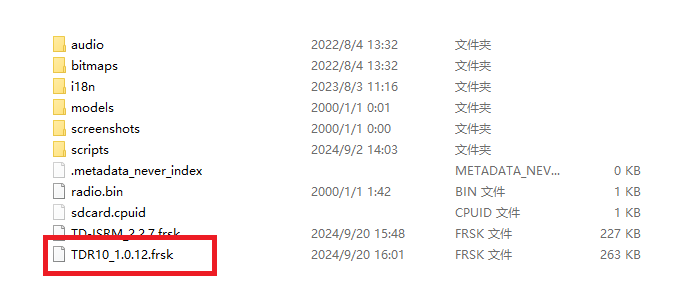
2. Enter the bootloader mode on the transmitter and connect it to the computer. Once the computer recognizes the transmitter’s TF card, open the drive and place the extracted firmware file into the root directory of the memory card, as shown in the picture.

3. After importing the file, disconnect the transmitter from the computer. Turn on the transmitter, go to [System Menu→File Manager], and you will see the receiver firmware.

4. Use the connection cable provided with the receiver (some receivers may require a separate cable) to connect the receiver and the transmitter via the S.Port.
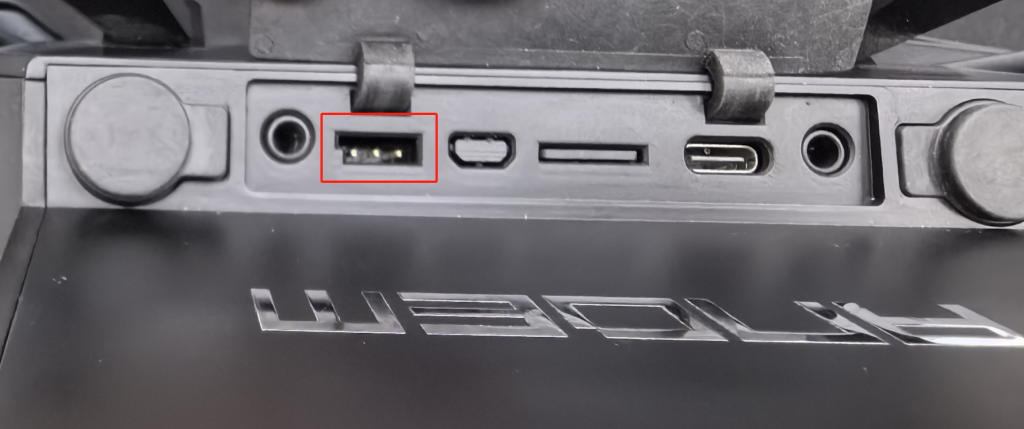
Note: The pinout of the transmitter's S.Port from left to right is defined as Signal (closest to the notch), Positive (middle), and Negative (farthest from the notch).

Note: Please refer to the receiver's manual for its pin definitions. You can refer to the labels in the diagram: "S" (Signal), "+" (Positive), "–" (Negative).
5. Select the receiver firmware, press the [Enter] button to bring up the prompt, and choose "Flash external device" to start the update process.

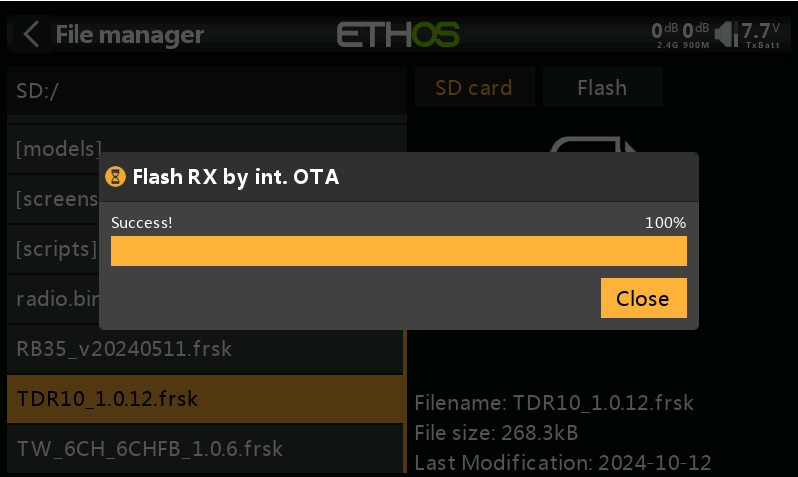
6. Once the update is successful, click "Close" to complete the process.

Receiver Wireless (OTA) upgrade operation
Please first check the manual to confirm whether the "receiver model in use" supports the "wireless OTA update" function. If it does not support this feature, please disregard this tutorial.
1. Visit the official website at www.frsky-rc.com, locate the firmware download page for the corresponding receiver (TD R10), find the required firmware under the "FIRMWARE" section, download and extract the file.
2. Enter the bootloader mode on the transmitter and connect it to the computer. Once the computer recognizes the transmitter’s TF card, open the drive and place the extracted firmware file into the root directory of the memory card, as shown in the image.
3. After importing the file, disconnect the transmitter from the computer. Turn on the transmitter, enter to "RF System," select the appropriate protocol for 'TD MODE,' and complete the receiver registration.
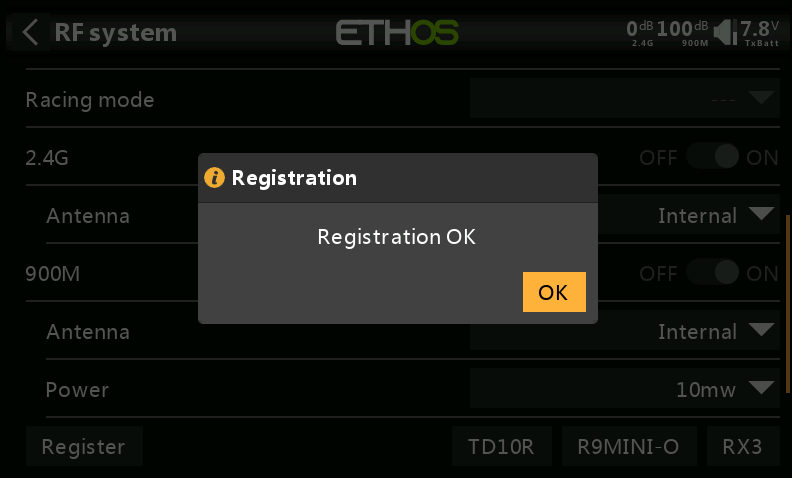
Registration Procedure: In the transmitter's RF interface, click "Register" to enter the registration page. Power on the receiver while holding down the bind button. Once the transmitter's "Register" indicator lights up, press the [Enter] button to complete the registration.
4. Next, enter [System Menu → File Manager], where you will see the receiver firmware.
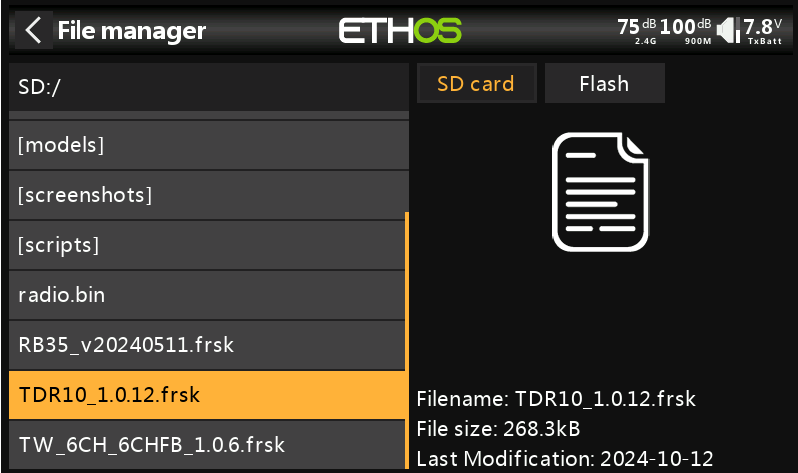
5. In step 4, if the registration was done via the “internal RF module”, select "Flash RX by Int. OTA" for the upgrade. If the registration was done via the “external RF module”, choose "Flash RX by ext. OTA" to proceed with the upgrade.
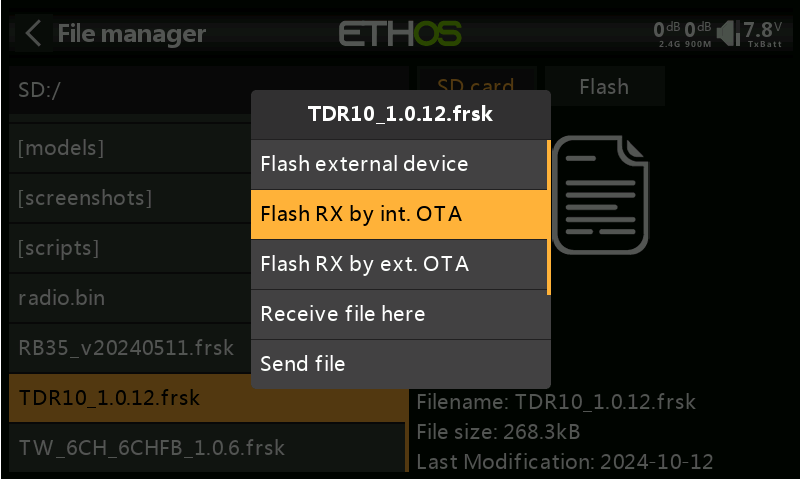
6.After selecting the appropriate option, a "Waiting for Receiver" prompt will appear, as shown in the image.
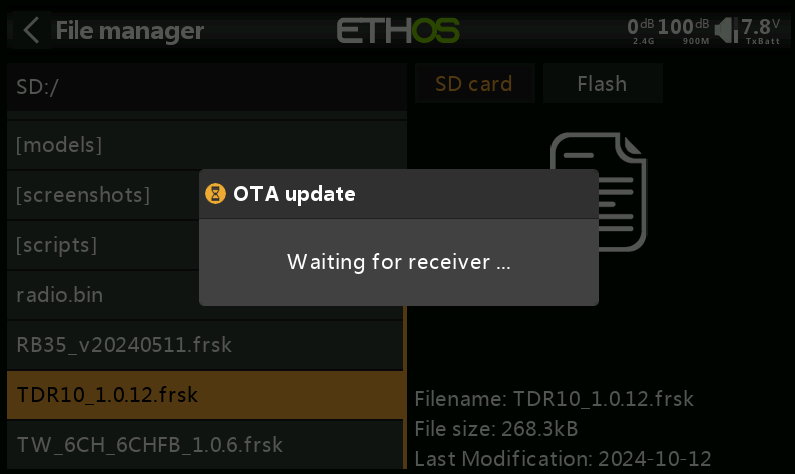
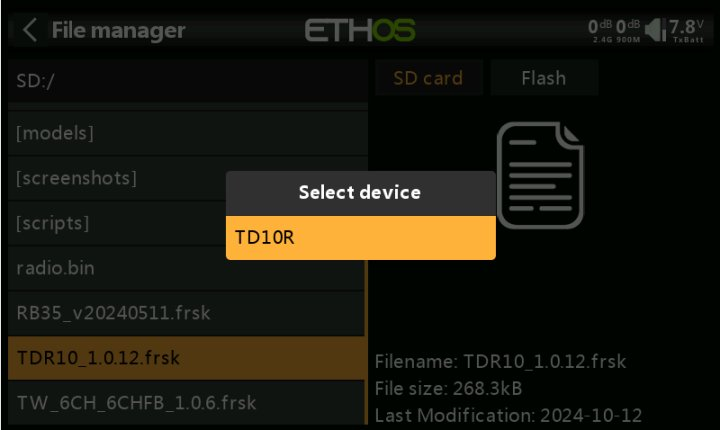
7.At this point, power on the receiver again, and the "corresponding receiver model" will appear. Press the [Enter] button to start the OTA update.
8.Once the update is successful, click "Close" to complete the process.
